Disclosure: We may earn a commission when you buy through links on this page, at no extra cost to you. We buy nothing, sell nothing and accept no payment for coverage — commissions never decide what we recommend. How we make money.
To clean a massage chair without damaging it, unplug it first, remove loose debris with a soft brush or vacuum, then wipe the upholstery and touch points with a barely damp microfiber cloth and a mild cleaner approved for that material. Keep moisture away from seams, airbag openings, rollers, motors, vents, and the remote, and never spray liquid directly onto the chair.
Most home massage chairs need a quick wipe after sweaty or high-use sessions and a more detailed cleaning every 2 to 4 weeks. The goal is straightforward: remove body oils, dust, lint, and foot-well grime while protecting synthetic leather, fabric panels, airbags, sensors, wiring, and control electronics.
What to use: a 10-minute cleaning supply checklist
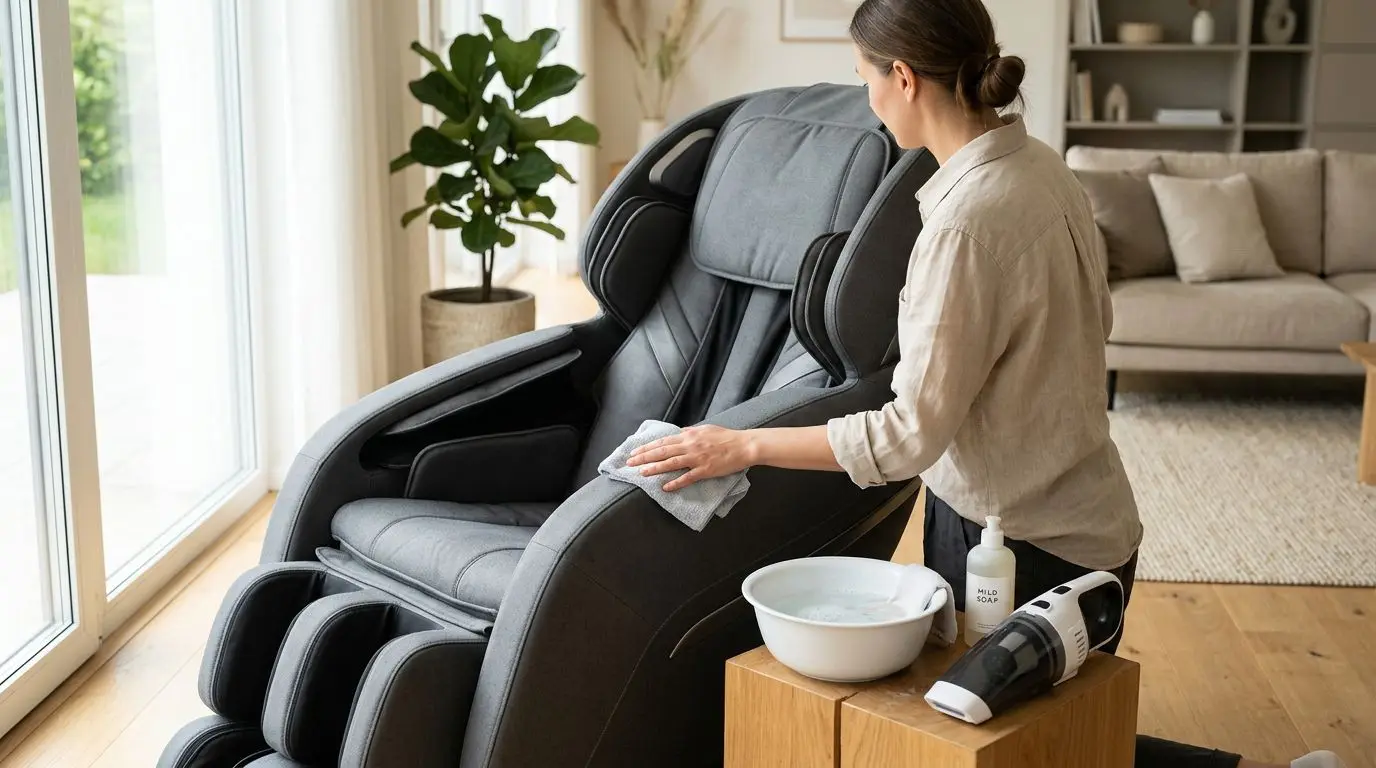
You do not need a cabinet full of specialty products to clean a home massage chair. In most cases, a 10-minute setup with a few low-risk tools is safer than strong household cleaners that can dry, discolor, or crack upholstery.
Start with the owner manual if you have it. Many massage chairs combine coated synthetic leather, vinyl-like upholstery, mesh fabric, plastic trim, and rubberized foot rollers in one unit, and each material can react differently to cleaners.
| Item | Best use | What to avoid |
|---|---|---|
| 2 to 4 microfiber cloths | General wiping, drying, and remote care | Paper towels that can scratch glossy plastics |
| Soft brush or upholstery brush | Dusting seams, headrest folds, calf areas | Stiff bristles on coated upholstery |
| Hand vacuum with crevice tool | Crumbs, lint, pet hair, foot-well debris | Dragging hard plastic tips across upholstery |
| Mild dish soap diluted in water | Light soil on many synthetic surfaces | Soaking seams or saturating padding |
| Distilled water | Final wipe on screens or dark upholstery | Mineral spotting from hard tap water |
| 70% isopropyl alcohol, only if allowed | Small plastic buttons and some remotes | Leather-like upholstery, screens, printed labels, open ports |
A safe soap mix is usually very weak: about 1 or 2 drops of mild dish soap in a cup of water. The cloth should feel damp, not wet. If you can wring drops out of it, it is too wet for a massage chair.
Before you start: 5 safety rules for electronics and moving parts
A massage chair is furniture with motors, wiring, sensors, heaters, rollers, airbags, and control boards inside. Treat it more like a small appliance than an ordinary recliner.
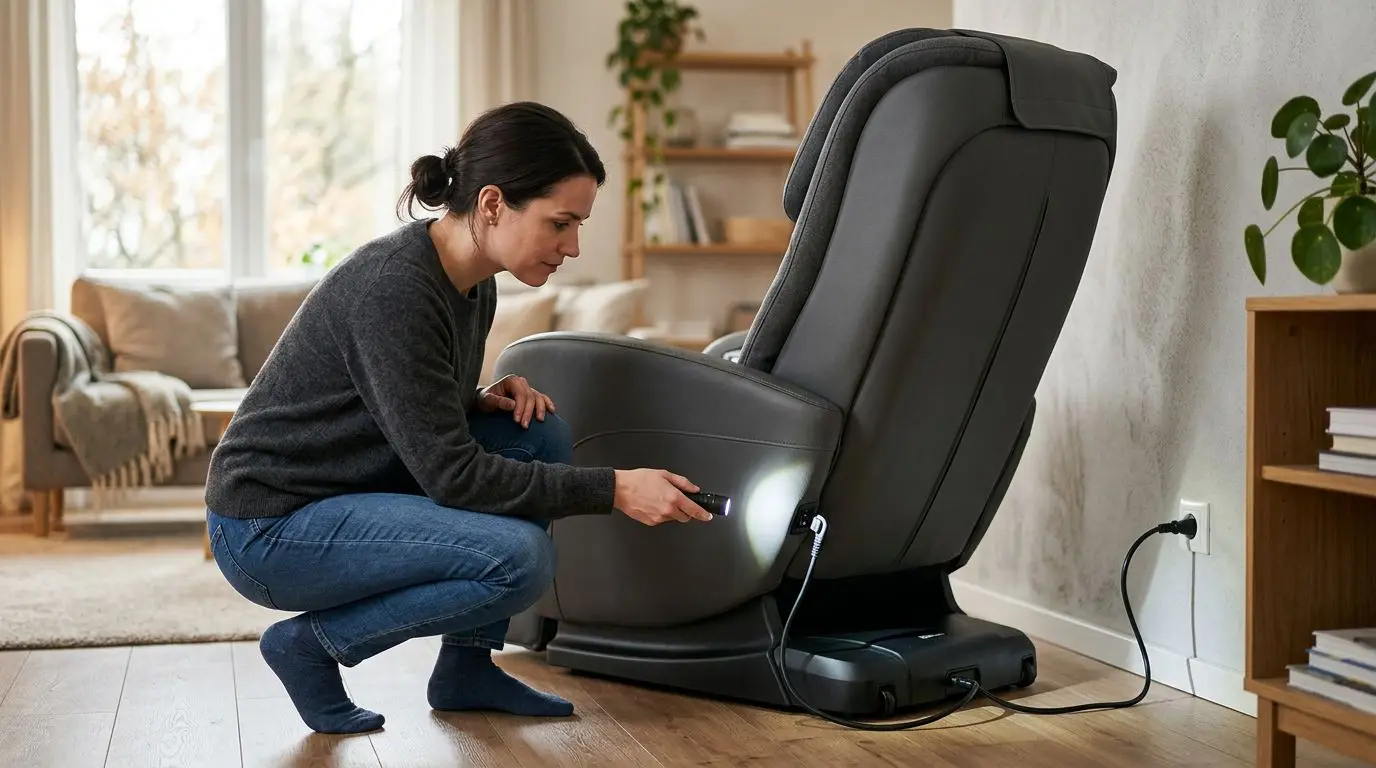
- Unplug it and wait 2 minutes. This gives powered components time to shut down before you wipe around controls or moving zones.
- Do not clean while the chair is running. Rollers, airbags, and foot mechanisms can pinch cloths or fingers.
- Keep liquid out of seams and openings. Stitch lines, zipper tracks, speaker grilles, vents, remote ports, and airbag gaps are not wash basins.
- Never use a steam cleaner. Steam adds heat and moisture, both of which can affect adhesives, coatings, foam, and electronics.
- Let everything dry for at least 30 minutes. Longer is better if you cleaned foot wells or textured panels.
If the chair has removable pads, head pillows, foot liners, or washable covers, take them off before cleaning the main body. Clean those pieces separately according to their care labels. If there is no label, assume low moisture and air drying only.
Clean the upholstery in 15 to 20 minutes
The main seat, backrest, armrests, head pillow, and side panels collect body oils, hair products, lotion, dust, and dye transfer from clothing. A careful 15- to 20-minute routine is enough for most chairs that are cleaned regularly.
Step 1: Dry clean first
Use a soft brush or vacuum brush to remove dry debris before adding any moisture. Work from the headrest down to the seat so dust falls into areas you have not cleaned yet. Pay close attention to the crease where the seat meets the backrest; it often hides lint and crumbs.
Step 2: Spot test a 1-inch area
Before wiping a visible panel, test your cleaner on a hidden 1-inch spot, such as the underside of a pillow flap or a low side panel. Wait 10 minutes. If the surface becomes tacky, shiny, faded, rough, or sticky, stop and use only a dry cloth or the cleaner specified by the manufacturer.
Step 3: Wipe with low moisture
Dampen a microfiber cloth with your mild soap solution, then wring it thoroughly. Wipe small sections with light pressure. Do not scrub aggressively; coated upholstery can wear faster when rubbed hard, especially along bolsters and high-friction seat edges.
Step 4: Rinse and dry
Use a second cloth dampened with plain water to remove soap residue, then follow with a dry microfiber cloth. Soap left on the surface can attract more grime, and moisture trapped in seams can create odor over time.
| Upholstery type | Cleaning approach | Extra caution |
|---|---|---|
| Synthetic leather or vinyl-like coating | Dry dust, then wipe with a barely damp cloth and mild soap | Avoid alcohol, bleach, ammonia, oils, and abrasive pads |
| Fabric or mesh panels | Vacuum first, spot clean lightly, blot instead of rubbing | Do not saturate foam beneath the fabric |
| Plastic trim | Wipe with damp microfiber, then dry | Avoid getting cleaner into vents, seams, or speaker areas |
| Removable head pillow | Clean separately and air dry flat | Do not reinstall until fully dry |
Skip furniture polish, leather oil, petroleum-based conditioners, scented sprays, and general-purpose disinfecting wipes unless the manual clearly allows them. Many massage chair surfaces are coated synthetics, not absorbent leather, so oily products can leave a slippery film instead of conditioning the material.
Foot wells and calf areas: a 5-minute reset after sweaty use
Foot wells are usually the dirtiest part of a massage chair. They collect sock lint, dead skin flakes, pet hair, grit from floors, and moisture from feet. A 5-minute reset after high-use sessions keeps the area more pleasant and reduces buildup in textured parts.
First, open or extend the footrest if your chair allows it, then unplug the chair. Vacuum with a crevice tool, using light contact so you do not scratch plastic or pull at fabric liners. If the foot wells have removable fabric inserts, take them out and clean them separately.
Next, wipe hard foot-well surfaces with a damp microfiber cloth and mild soap solution. For textured rubber or plastic rollers, wrap the cloth around one finger and rotate the roller by hand only if it moves freely without force. Do not flood the roller area. Motors, sensors, and mechanical linkages may sit close behind the visible parts.
For odor control, drying matters more than fragrance. Leave the footrest open for 30 to 60 minutes after cleaning. If foot wells still smell musty, repeat a dry vacuuming and low-moisture wipe instead of spraying deodorizer into the mechanism.
- Wear clean socks when possible, especially in shared chairs.
- Vacuum foot wells weekly if pets are in the home.
- Wipe after barefoot use, workouts, or humid days.
- Do not use powdered cleaners; residue can settle into moving parts.
Airbags, seams, and rollers: clean the 1-inch gaps gently
Airbags and rollers are the parts most likely to be damaged by overcleaning. The visible material may look like regular upholstery, but behind it are air hoses, bladders, brackets, moving roller arms, and fabric tracks. Keep cleaning gentle, dry when possible, and limited to reachable surfaces.
For airbags in the shoulders, arms, calves, or feet, wipe only the exposed contact surfaces with a barely damp cloth. Do not push liquid into the folds where the airbag inflates. If the chair has arm pockets, clean the top edge, inner fabric, and wrist area slowly because hand lotion and skin oils often build up there.
Seams take patience. Use a dry soft brush first, brushing along the seam rather than across it. If grime remains, use a slightly damp cloth over your fingertip and make 1-inch passes, then dry immediately. Avoid toothpicks, metal tools, or sharp seam picks; they can puncture upholstery or air bladders.
Back rollers are usually hidden behind the back pad. If you can remove a pad according to the manual, vacuum lint from accessible fabric areas and wipe only the surfaces the manual identifies as user-cleanable. Do not lubricate rollers, remove covers, tighten hardware, or reach into the track. If you hear grinding, clicking, or scraping, that is a service issue, not a cleaning job.
Remote, touchscreen, and buttons: use 70% alcohol only where appropriate
The remote and control panel are high-touch areas, but they are also vulnerable to liquid damage. A remote with 10 to 30 buttons has many small edges where moisture can enter, so the safest method is to apply cleaner to the cloth, never to the remote.
For routine cleaning, unplug the chair and wipe the remote with a dry microfiber cloth first. If it needs more attention, lightly dampen a cloth with distilled water and wipe the casing, buttons, and cord. Dry immediately with a second cloth.
For plastic button areas, 70% isopropyl alcohol may be acceptable if the manual allows it. Put a small amount on a microfiber cloth or cotton swab, then wipe around buttons without dripping liquid. Avoid alcohol on printed labels, soft-touch coatings, faux leather control sleeves, and touchscreens unless the screen instructions specifically permit it.
Treat touchscreens like a tablet screen: power down, use a clean microfiber cloth, and apply minimal moisture. If fingerprints remain, use distilled water on the cloth. Do not use glass cleaner, ammonia, bleach, abrasive pads, or wet wipes that leave residue.
| Control area | Safe routine | Risky move |
|---|---|---|
| Handheld remote | Dry microfiber, then lightly damp cloth if needed | Spraying cleaner between buttons |
| Touchscreen | Clean microfiber and minimal distilled water | Using window cleaner or rough paper towels |
| Side control buttons | Wipe edges carefully and dry right away | Letting liquid pool around button gaps |
| Remote cord or cradle | Wipe along the cord and clean dust from the cradle | Pulling hard on the cord or soaking the connector |
How often to clean: a 1-chair home schedule
Cleaning frequency depends on use, not just the calendar. A chair used by one person for 15 minutes a few nights a week needs less attention than a shared chair used daily by a family of 4.
| Situation | Quick wipe | Detailed cleaning |
|---|---|---|
| Light use, 1 user | Every 1 to 2 weeks | Every 4 to 6 weeks |
| Daily use, 1 to 2 users | Weekly | Every 2 to 4 weeks |
| Shared family chair, 3 to 5 users | After sweaty or barefoot use | Every 2 weeks |
| Pets in the home | Vacuum visible hair weekly | Every 2 to 4 weeks |
| Guest use or short-term rental setting | Between users | At least weekly |
A quick wipe covers the headrest, armrests, seat, foot wells, and remote. A detailed cleaning adds seam brushing, vacuuming crevices, removable pad care, side panels, cup holders if present, and a longer dry time.
Do not ignore the room around the chair. Vacuum the floor under and behind it every month if the chair is near a wall. Dust pulled into vents can make the chair look dirtier and may contribute to fan noise in models with cooling or electronic ventilation.
Who this routine is best for: homes with 1 to 5 regular users
This cleaning routine is best for owners of a home massage chair used by 1 to 5 people, especially when the chair has synthetic upholstery, foot and calf wells, arm airbags, and a handheld or built-in remote. It is also useful for anyone who wants a hygienic chair without harsh chemicals or taking apart components.
It is a good fit if your chair is in a living room, bedroom, home office, basement, or workout area where dust, sweat, pet hair, and sock lint are common. The routine is intentionally conservative because most owners should not need to remove panels, open the back, or access internal parts for cleaning.
If the chair is used in a commercial setting, shared office, gym, salon, or rental property, you may need a stricter cleaning log and products that match the upholstery manufacturer's instructions. High-turnover environments can mean multiple cleanings per day, and the wrong product used repeatedly can wear surfaces faster than normal home use.
Cleaning does not change whether a massage chair is appropriate for a person to use. Anyone who is pregnant, has a pacemaker or other implanted cardiac device, has a history of blood clots or uses anticoagulants, has osteoporosis, a recent fracture or surgery, spinal disc problems, neuropathy, or uncontrolled hypertension should ask a physician before using a massage chair.
How to choose and test cleaners on a 1-inch hidden spot
The safest cleaner is the mildest one that removes the soil. Start with dry dusting, then plain water, then a very diluted soap solution. Move to stronger products only if the manual clearly permits them and a 1-inch hidden spot test looks normal after 10 minutes.
Read cleaner labels carefully. Words like degreaser, solvent, bleach, ammonia, citrus oil, abrasive, polish, or heavy-duty are warning signs for coated upholstery and electronics. Scented sprays may make a chair smell cleaner for an hour, but they can leave residue in fabric, seams, and foot wells.
Match the cleaner to the surface, not to the stain. Body oil on a headrest may need a mild soap wipe. Dust on a side panel may need only a dry cloth. Fingerprints on a touchscreen may need a clean microfiber cloth and no cleaner at all.
How to measure access before cleaning
Give yourself room to work. If the chair is close to a wall, move it only as the manual allows and aim for at least 6 inches of space where you need to vacuum or wipe. For tight foot-well grooves, choose a vacuum crevice tool under about 1 inch wide or use a soft brush instead.
Measure cloth moisture with a simple test: squeeze the cloth over a sink. If more than a drop or two comes out, it is too wet. For remote buttons and seams, the cloth should feel almost dry to the touch.
| Soil or spot | First choice | If it remains |
|---|---|---|
| Dust and lint | Dry microfiber or vacuum | Soft brush along seams |
| Light body oil | Damp cloth with mild soap | Repeat gently, then rinse and dry |
| Sock lint in foot wells | Vacuum crevice tool | Damp cloth around textured parts |
| Fingerprints on controls | Dry microfiber | Minimal distilled water on cloth |
| Sticky residue | Manual-approved cleaner only | Contact service if the surface turns tacky |
Common mistakes that can damage a chair in under 60 seconds
Some cleaning mistakes cause visible damage almost immediately. Others create slower problems, such as sticky upholstery, dull screens, lingering odors, or unreliable buttons. Avoid these habits even if the chair looks durable.
- Spraying cleaner directly on the chair. Overspray can run into seams, buttons, ports, and airbag openings.
- Using bleach or ammonia. These can discolor surfaces and damage coatings.
- Scrubbing with abrasive pads. A rough pad can dull synthetic leather or glossy plastic in a few passes.
- Soaking fabric panels. Wet foam can take hours to dry and may hold odor.
- Using heat to speed drying. Hair dryers and space heaters can affect adhesives and surface coatings.
- Cleaning internal parts. Removing panels or reaching into the track can create safety and warranty problems.
If you spill a drink on the chair, unplug it immediately if it is safe to do so, blot the liquid with absorbent towels, and keep the chair off until it is fully dry. If liquid may have entered controls, vents, or the base, contact a qualified service provider before using it again.
FAQ: 5 practical cleaning questions owners ask
Can I use disinfecting wipes on a massage chair?
Only if the chair manual says they are safe for that surface. Many disinfecting wipes contain alcohol, quaternary compounds, fragrance, or other ingredients that may dry, dull, or discolor coated upholstery. If you use one on an approved plastic area, wipe away residue with a lightly damp cloth and dry it.
How do I remove sweat smell from the headrest or foot wells?
Start with dry cleaning, then wipe with a mild soap solution and dry thoroughly. Leave the headrest or footrest open to air out for 30 to 60 minutes. Avoid fragrance sprays, which can mask odor while leaving residue behind.
Can I clean inside the roller track?
Do not reach into the roller track or remove structural covers unless the owner manual gives specific user instructions. You can vacuum accessible fabric surfaces and removable pads, but grinding, scraping, or stuck debris inside the mechanism should be handled by service support.
Is steam cleaning safe for massage chair upholstery?
No. Steam adds heat and moisture, which are poor matches for electronics, foam, adhesives, synthetic coatings, and airbag assemblies. Use low-moisture wiping instead.
What should I do if the remote gets wet?
Unplug the chair, disconnect the remote only if the manual says it is user-removable, and blot moisture with a dry cloth. Do not use heat. Let it dry completely, and if liquid entered button gaps, ports, or the screen edge, contact service before powering the chair.
Frequently asked questions
Can I use disinfecting wipes on a massage chair? +
Only if the chair manual says they are safe for that surface. Many wipes can dry, dull, or discolor coated upholstery, so test first and never let liquid pool in seams or buttons.
How often should I clean my massage chair? +
For light home use, wipe touch points every 1 to 2 weeks and do a detailed cleaning every 4 to 6 weeks. For daily or shared use, clean weekly and detail every 2 to 4 weeks.
Can I clean the foot wells with soap and water? +
Yes, but use a barely damp microfiber cloth with a very mild soap mix. Vacuum debris first, avoid soaking rollers or fabric, and leave the footrest open for 30 to 60 minutes to dry.
Is it safe to clean the remote with alcohol? +
A small amount of 70% isopropyl alcohol on a cloth may be safe for some plastic button areas if the manual allows it. Do not spray alcohol, soak buttons, or use it on touchscreens or printed labels unless approved.
Can I use a steam cleaner on a massage chair? +
No. Steam introduces heat and moisture near upholstery coatings, foam, airbags, adhesives, and electronics. Low-moisture wiping is the safer approach.
Related guides
Massage Chair Maintenance Checklist: Weekly, Monthly, and Yearly Tasks
13 min readHow to Protect Massage Chair Upholstery from Cracking, Peeling, Sweat, Pets, and Sunlight
14 min read
Do You Need a Massage Chair Cover? How to Protect Against Sweat, Pets, Sunlight, and Wear
15 min read
Massage Chair Repair Guide: Problems, Parts, Service Calls, and Warranty Tips
14 min read
Massage Chair Assembly and Disassembly: What to Expect Before Setup or Moving
13 min read