Disclosure: We may earn a commission when you buy through links on this page, at no extra cost to you. We buy nothing, sell nothing and accept no payment for coverage — commissions never decide what we recommend. How we make money.
Most massage chairs can be assembled at home by 2 adults in about 45 to 120 minutes, but the difficulty depends on the chair’s weight, side panels, footrest design, and doorway clearance. Disassembly for moving is usually possible, though limited: owners can often remove the footrest, side panels, cushions, and accessories, while the main chair body typically remains heavy and awkward. If stairs, narrow turns, a 200-plus pound base, or electrical connectors are involved, professional moving help is often the safer choice.
This guide covers what usually arrives in the box, which parts may come apart, how to measure your route, and where a homeowner should stop. Massage chairs are large powered furniture pieces, not simple recliners, so planning matters before the truck arrives or before you try to move one across the house.
What arrives in the box: 3 to 6 major pieces
A full-size massage chair commonly arrives in 3 to 6 major pieces, depending on the design. The heaviest piece is usually the main chair body, which contains the track, rollers, motor assemblies, frame, and control electronics. That section alone can weigh well over 100 pounds, and larger chairs can have a total assembled weight around 200 to 350 pounds.
Other pieces may include the foot and calf unit, left and right side panels, shoulder or arm assemblies, head pillow, back pad, remote or touchscreen control, power cord, and accessory covers. Some chairs ship mostly assembled, while others need more panel work before they look finished.
The shipping carton can be surprisingly large. A typical full-body chair may arrive on a pallet or in a box roughly 30 to 36 inches wide, 45 to 60 inches long, and 30 to 45 inches tall. Exact carton size varies, but the practical issue is the same: the box may not fit through every interior door, even if the chair itself would fit once unpacked.
Before cutting straps or removing protective foam, take photos of the carton, labels, hardware bags, and connector locations. If you ever need to disassemble the chair, those 6 or 8 phone photos can save time. Keep the bolts and washers in labeled bags, and do not discard shaped foam until the chair is fully tested.
Home assembly: 45 to 120 minutes with 2 adults
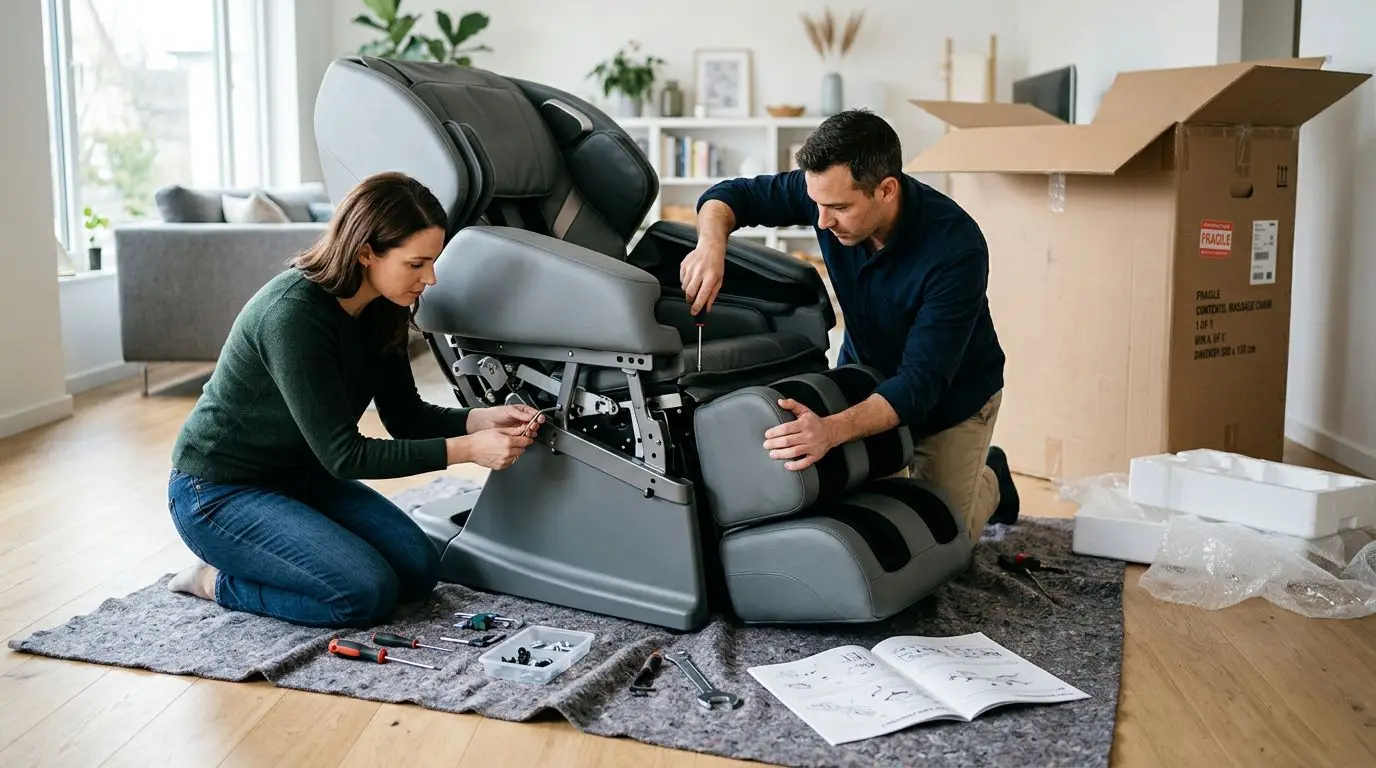
For many owners, basic assembly is manageable with 2 adults, a clear floor area, and 45 to 120 minutes. The work is more about careful handling than complicated mechanics. You are aligning brackets, attaching panels, connecting color-coded plugs, and securing bolts rather than building the internal massage mechanism.
The most common home assembly steps are straightforward. Remove the chair body from the carton, attach the footrest or calf unit, mount side panels or arm sections, connect air hoses or wiring plugs, install cushions, and plug the chair into a grounded outlet. Some chairs also require you to fasten a control holder, zip up upholstery sections, or attach decorative trim.
Small errors can create big frustration. A side panel forced at the wrong angle can crack. A plug that is not fully seated may cause the chair to show an error code or leave one feature unresponsive. A footrest attached with the wrong bolt length can rub, rattle, or fail to sit square.
Work slowly. Lay all hardware on a towel, count the bolts against the instruction sheet, and avoid using power tools unless the manual specifically allows them. Hand-tighten first to help prevent cross-threading. Once all bolts are started, tighten them evenly.
| Assembly task | Typical difficulty | Owner notes |
|---|---|---|
| Unboxing and removing foam | Easy but bulky | Allow 10 to 20 minutes and keep the floor clear. |
| Attaching cushions and pillows | Easy | Usually straps, zippers, snaps, or hook-and-loop fasteners. |
| Connecting side panels | Moderate | May require aligning brackets while supporting panel weight. |
| Installing foot and calf unit | Moderate to hard | Often requires 2 people because hinges and wiring must line up. |
| Electrical and air connectors | Moderate | Match plugs carefully and never force a connector. |
Disassembly for moving: what comes off in 15 to 60 minutes
Disassembly is usually partial, not total. In 15 to 60 minutes, a careful owner may be able to remove loose cushions, the head pillow, the back pad, the remote holder, some side panels, and in some designs the foot and calf unit. The main chair body, however, usually remains one heavy section because the track, rollers, frame, and powered recline structure are integrated.
This matters when you are trying to get through a 30-inch doorway or around a tight hallway turn. Removing side panels may reduce the overall width by several inches. Removing the footrest may reduce length and make the chair easier to stand upright or angle through a door. Those changes can be the difference between a calm move and a damaged wall.
Not every part should come off. Internal roller tracks, actuator arms, air pump assemblies, main circuit boards, and structural frame pieces are not normal homeowner disassembly items. Taking those apart can create safety issues, void a warranty, or leave the chair misaligned when reassembled.
Before removing anything, unplug the chair and wait at least 5 minutes. Photograph each connector and fastener location. If you disconnect air hoses, note their routing and do not kink them. If you disconnect plugs, pull from the connector body, not the wire. Tape hardware bags to the part they belong to, not to the upholstery surface.
When to hire help: stairs, 200-plus pounds, and tight turns
Professional help is worth considering when the chair weighs more than 200 pounds, must travel up or down stairs, or needs to pass through narrow halls with 90-degree turns. A powered massage chair is not just heavy; it is unbalanced. Weight is often concentrated in the back and seat frame, while the outer upholstery can be easy to scuff or tear.
Hire movers or a qualified furniture technician if the chair has to go down a basement stairway, through an exterior doorway with a high threshold, into an upstairs bedroom, or across a floor that can be scratched. A 250-pound chair on a staircase is not a good test of grip strength. It needs planning, lifting straps, protection for walls, and enough people to control both ends.
Professional help is also smart if the chair will not power on, is stuck in a reclined position, or has a footrest extended. Many chairs need to be returned to an upright or home position before moving. Forcing a powered mechanism by hand can damage gears, hinges, or actuator mounts.
Use extra caution with elevators. Measure the elevator door width, interior depth, and diagonal clearance. A chair that fits a 32-inch apartment doorway may still fail in a compact elevator if the cabin is only 48 inches deep. Building rules may also require a service elevator reservation, moving certificate, or specific moving hours.
How to measure before setup or moving: 5 numbers to write down
Before delivery or moving day, write down 5 numbers: narrowest doorway width, hallway width, ceiling height at stairs, turning space, and the chair’s smallest moveable dimensions. Do not rely on memory. A 1-inch mistake can decide whether a chair fits cleanly or gets stuck halfway through a door.
Start with doors. Measure the clear opening with the door open as far as possible. A door labeled as 32 inches wide may provide only about 30 to 31 inches of usable clearance because of the door slab, hinges, or trim. If safe and practical, removing the door from its hinges may add around 1 to 2 inches.
Next, measure hallway width and turn radius. A straight 34-inch hallway is easier than a 36-inch hallway with an immediate sharp turn. At corners, measure the distance from the inside corner to the opposite wall in both directions. This tells you how much room the chair has to swing.
For stairs, measure stair width, landing depth, railing clearance, and ceiling height. Low ceilings can stop a tall chair body from tilting upward, even when the stair width looks generous. Landings under about 40 inches deep can be difficult for large chairs because there is not enough room to rotate.
Last, check the destination room. Many massage chairs need wall clearance to recline. Some space-saving designs may need only a few inches behind the backrest, while other recliners may need 12 to 24 inches or more. Also leave walking space around the chair. A comfortable layout usually needs at least 24 inches of side clearance on the path side.
Assembly and moving comparison: 4 common chair types
Massage chairs vary widely by frame, track, and feature set. A compact recliner with a shorter track is usually easier to move than a full-body chair with enclosed armrests, a long track, and a large foot-and-calf section. The table below compares broad chair types, not brands.
| Chair type | Typical setup challenge | Moving notes | Best fit |
|---|---|---|---|
| Compact massage recliner | Often fewer panels and a lighter frame | May fit through many 30 to 32 inch openings with less disassembly | Apartments, small rooms, simpler delivery routes |
| Full-size S-track chair | Moderate assembly, often separate cushions and panels | Main body can still be heavy; side panels may matter | Owners wanting back-focused coverage in a standard footprint |
| Full-size L-track or extended-track chair | More length and weight because the track extends under the seat area | Harder to pivot through tight turns; footrest removal may help | Larger rooms and delivery paths with wider turns |
| Feature-heavy full-body chair | More connectors, arm sections, air hoses, and powered parts | Professional help is often wise for stairs or long carries | Dedicated spaces with stable placement |
Track type affects handling because it changes the internal frame. An S-track generally follows the curve of the back. An L-track extends farther under the seat area, which can add length and weight. Roller count, air-cell coverage, heated panels, speakers, and powered leg extension can also add wiring and removable parts.
Feature-heavy chairs may feel more substantial during use, with more coverage points and a larger recline envelope, but that also means more to protect when moving. If the chair has enclosed arm wells, a broad shoulder area, or a long footrest, measure twice.
Who it is best for: 3 DIY and professional scenarios
DIY assembly is best for owners with a ground-floor delivery path, doorway clearance of at least the chair’s minimum required width, and 2 capable adults available for lifting. It also suits buyers who are comfortable reading a manual, matching connectors, and spending up to 2 hours on careful setup.
Partial DIY disassembly is reasonable when the move is within the same room or same floor. For example, removing cushions and a side panel to repaint a room is very different from carrying the chair down 14 stairs. If the chair stays upright, moves only a short distance, and never has to be forced through a tight turn, careful owners can often manage.
Professional assembly or moving is best for second-floor rooms, basement installations, older homes with narrow halls, condo buildings with elevators, and any chair over roughly 200 pounds where the route is not simple. It is also the better choice if the original manual is missing and you cannot identify the connectors or fasteners confidently.
White-glove delivery, when available from a retailer or delivery company, typically means the chair is brought into the room, assembled, placed, and packaging is removed. Threshold delivery usually means the box is left at a garage, porch, or first dry area. Those are very different services. Confirm the service level before delivery day, not while the truck is parked outside.
Tools, safety, and common mistakes: a 10-point checklist
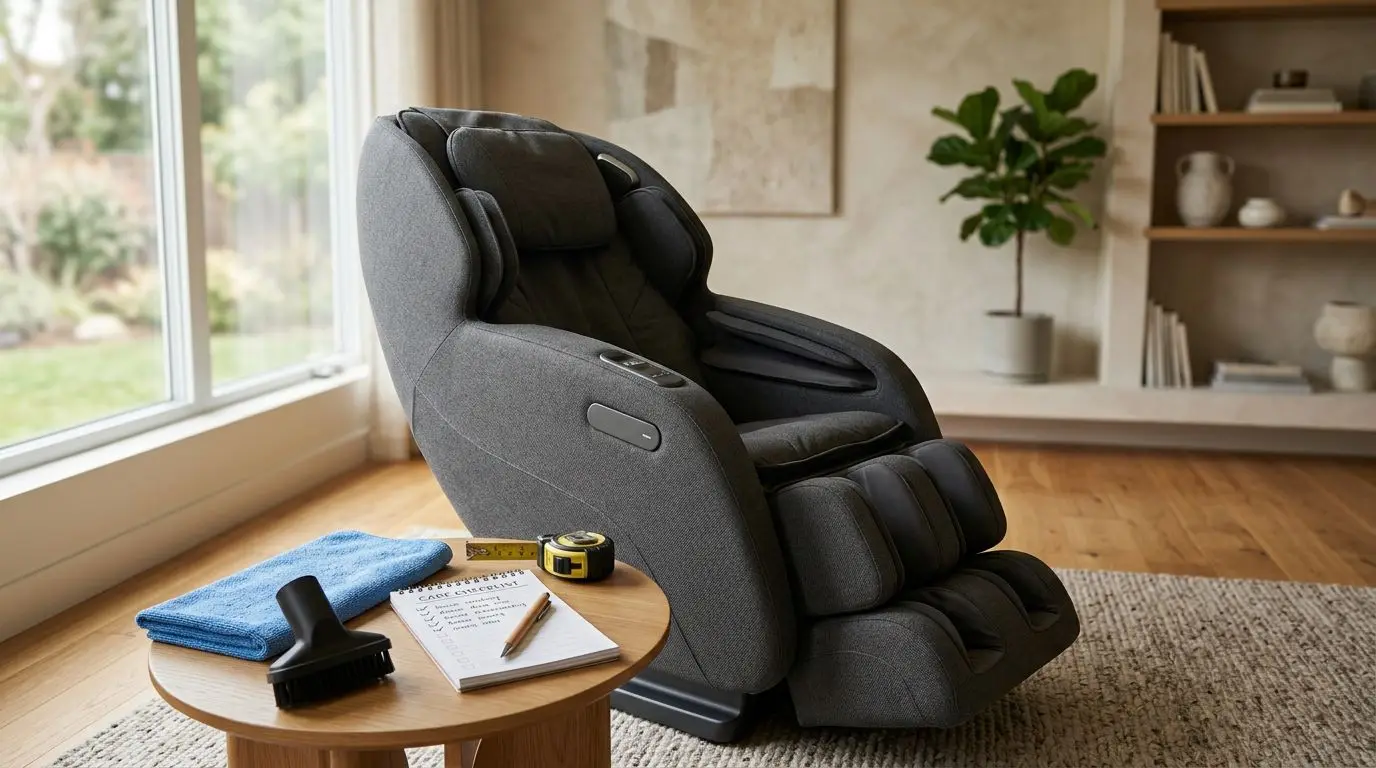
You do not need a professional shop to assemble most massage chairs, but a small kit helps. Have a tape measure, flashlight, scissors or a safety cutter, moving blankets, zip bags, painter’s tape, a marker, work gloves, and the included wrench or hex key. A furniture dolly can help on flat surfaces, but it does not replace enough people for lifting.
- Unplug the chair before disassembly and wait 5 minutes before touching connectors.
- Take at least 6 photos before removing panels or plugs.
- Keep bolts grouped by location, not mixed in one cup.
- Do not drag the chair across hardwood, vinyl, or tile without protection.
- Do not lift by the footrest, arm padding, remote holder, or decorative trim.
- Return the chair to its upright home position before moving if it powers on normally.
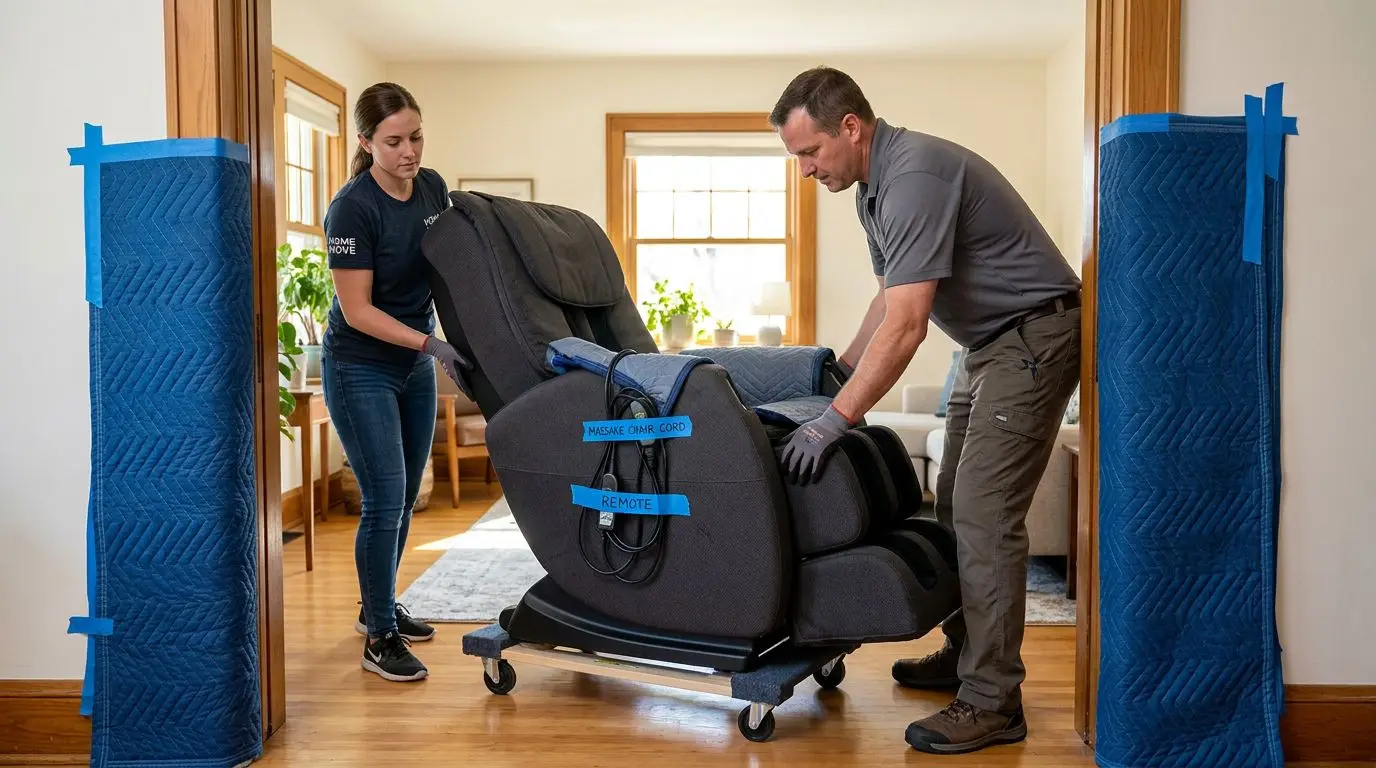
- Protect corners with moving blankets before entering halls or stairways.
- Check the power cord route so it cannot be pinched under the base.
- Test recline, footrest motion, rollers, remote, and airbags after reassembly.
- Stop if a plug, hinge, or panel does not align without force.
The biggest mistakes are rushing, forcing connectors, losing hardware, and underestimating the weight of the main body. Another common mistake is assembling the chair in the wrong spot. Once fully built, it may be too wide or heavy to move easily through the same doorway it came through as separate pieces.
Place the chair on a level floor near a grounded outlet. Avoid extension cords unless the manual specifically allows them. Leave ventilation space around the chair and keep the power cord away from moving recline parts. If the chair has transport wheels, treat them as short-distance helpers, not a way to roll the chair through the entire house.
Comfort and use after setup: 15 minutes for the first check
After assembly, spend about 15 minutes checking fit and function before putting tools away. Sit in the chair, confirm the footrest moves freely, run a short preset or manual session, and listen for rubbing, clicking, or grinding that seems out of place. Some mechanical sound is normal, but scraping panels or strained movement should be corrected before regular use.
Pay attention to how the chair is designed to feel. Rollers may feel broad and gentle, narrow and firm, or more pronounced at the shoulder and lower back areas depending on the mechanism. Air cells may feel like rhythmic compression around the calves, arms, shoulders, or hips. If the intensity feels too strong, adjust the settings, add the back pad if it was removed, or start with the lowest level.
Massage chairs are consumer wellness products, not medical devices. If you are pregnant, have a pacemaker or other implanted cardiac device, have a history of blood clots or take anticoagulants, have osteoporosis, a recent fracture or surgery, spinal disc problems, neuropathy, or uncontrolled hypertension, ask your physician before using a massage chair. Do the same for any situation where pressure, vibration, heat, or powered positioning may not be appropriate for you.
FAQ: 5 setup and moving questions owners ask
Can one person assemble a massage chair?
One person may be able to attach cushions or a remote holder, but full assembly usually calls for 2 adults. The main body and footrest are awkward, and aligning hinges or side panels is much easier when one person supports the part while the other starts the bolts.
Can a massage chair be taken apart completely?
Usually, no. Most owner-level disassembly is limited to exterior parts such as cushions, side panels, and sometimes the foot-and-calf unit. The track, frame, motors, and internal electronics should generally stay intact unless handled by a qualified technician.
Will a massage chair fit through a 30-inch door?
Sometimes. It depends on the chair’s smallest moveable width after removable parts are taken off, plus the angle of approach. Measure the clear door opening, not just the door label, and compare it with the chair body dimensions in the manual.
Should I keep the original packaging?
If you have space, keep the shaped foam and hardware bags for at least 30 days, and longer if you expect to move soon. Original packaging can protect panels and make it easier to identify parts during disassembly.
What should I test after reassembly?
Test power, remote response, recline, footrest movement, roller movement, air compression areas, heat if included, and any position sensors described in the manual. Run a short 5 to 15 minute session and stop if the chair makes unusual scraping sounds or displays an error.
Frequently asked questions
Can one person assemble a massage chair? +
One person may handle cushions or small accessories, but full assembly usually requires 2 adults because the chair body, side panels, and footrest can be heavy and awkward to align.
Can a massage chair be disassembled for moving? +
Often it can be partially disassembled. Cushions, side panels, accessories, and sometimes the foot-and-calf unit may come off, but the main frame, track, motors, and electronics usually stay together.
Will a massage chair fit through a 30-inch doorway? +
It depends on the chair’s minimum moveable width and the turn into the doorway. Measure the clear opening with the door fully open, and check whether removing panels or the footrest reduces the width enough.
When should I hire professionals to move a massage chair? +
Hire help for stairs, tight turns, elevators, long carries, chairs over about 200 pounds, or any situation where the chair is stuck reclined or cannot be safely powered to its home position.
What should I do before taking a massage chair apart? +
Unplug it, wait at least 5 minutes, take photos of connectors and fasteners, label hardware, and follow the manual. Stop if a panel, plug, or hinge does not come apart without force.
Related guides
How to Move or Disassemble a Massage Chair Without Damaging It
14 min read
Massage Chair Delivery and Setup Guide: Threshold Delivery, White-Glove Installation, Stairs, and Assembly
14 min read
The Hidden Costs of Buying a Massage Chair: Delivery, Setup, Repairs, and Moving
15 min read
Massage Chair Repair Guide: Problems, Parts, Service Calls, and Warranty Tips
14 min read
Where to Buy a Massage Chair Near You: Showroom Testing and Dealer Questions to Ask
12 min read