Disclosure: We may earn a commission when you buy through links on this page, at no extra cost to you. We buy nothing, sell nothing and accept no payment for coverage — commissions never decide what we recommend. How we make money.
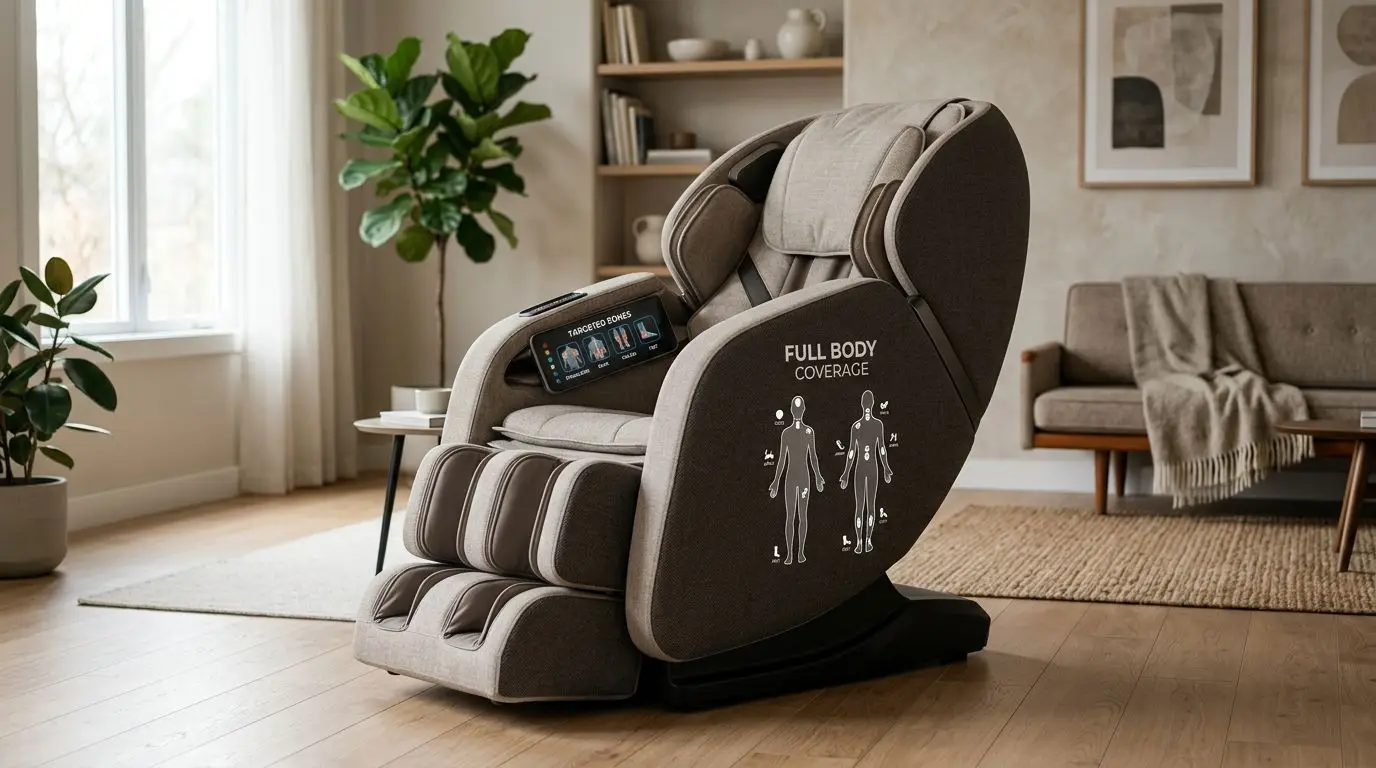
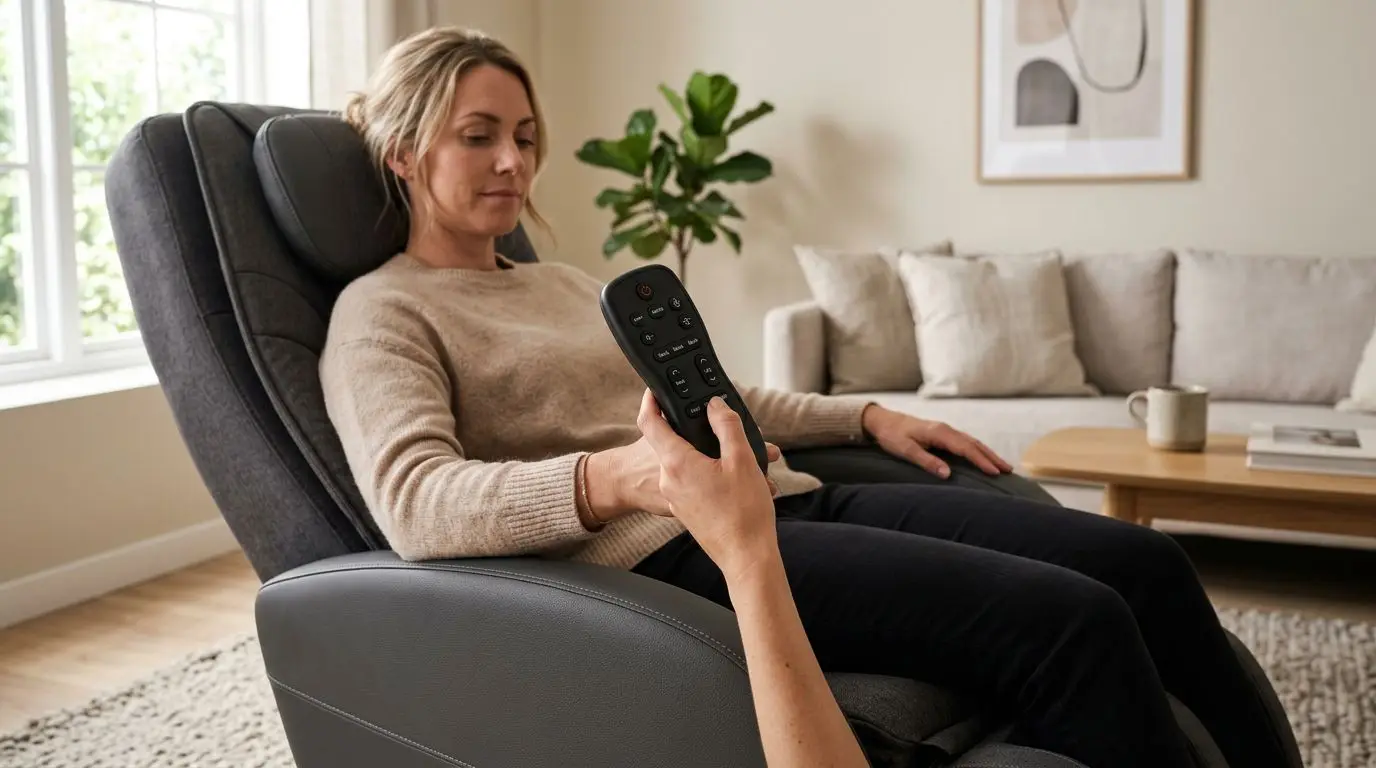
Use manual massage chair settings when an auto program feels too general, misses the exact spot you want, or delivers pressure that feels too strong or too light. Auto programs are convenient for a full-chair session, but manual controls work better when you need to adjust roller position, width, speed, airbag zones, recline angle, or foot intensity for your body.
A simple rule: start with auto when you want a hands-off 10- to 30-minute session, then switch to manual when you can name the area, pressure level, or fit issue you want to change. Manual mode is not complicated once you know which controls affect coverage and which affect intensity.
Auto vs. manual settings: 6 practical differences
Most massage chairs give you two ways to run a session: preset auto programs and manual controls. Auto programs follow a prebuilt sequence, often lasting 10, 15, 20, or 30 minutes depending on the chair. Manual settings let you choose what the chair does right now, such as holding the rollers at the upper back, narrowing the roller width, turning off calf airbags, or lowering foot roller speed.
Auto is easy. Manual is specific.
That distinction matters because massage chairs are mechanical products. Rollers move along a track. Airbags inflate in set zones. Foot rollers, if included, rotate under the soles. A body scan may estimate shoulder height, but it may not land perfectly for every posture, torso length, or seating position.
| Setting type | What it usually controls | Best use | Main tradeoff |
|---|---|---|---|
| Auto program | Preset sequence, roller styles, airbag timing, recline, session length | Full-body, hands-off sessions of about 10–30 minutes | May not focus where you want |
| Manual roller mode | Roller location, width, speed, technique, up/down movement | Targeting one area such as shoulders, mid-back, or low back | Requires a few button presses |
| Manual airbag control | Zone on/off, compression strength, timing | Reducing intensity in arms, calves, shoulders, or hips | Coverage may feel less complete |
| Manual foot controls | Foot roller on/off, speed, calf compression, leg rest position | Fine-tuning sensitive feet or calf fit | May take trial and error |
| Manual recline and heat | Back angle, leg angle, heat on/off | Finding a comfortable body position before pressure increases | Not every chair saves these preferences |
Manual settings are not automatically better than auto programs. They are better when your goal is precision. If the chair’s preset routine already feels comfortable and balanced, there is no need to micromanage every session.
Use manual mode for these 7 situations
Manual mode earns its keep when the chair is close, but not quite right. A preset may feel good for 80% of the session and still miss the one spot you bought the chair to reach. In those moments, switch from a broad program to a targeted adjustment.
1. One area needs more attention than the rest
If you want the rollers to stay around the shoulder blades, mid-back, or low-back area for 3 to 5 minutes, manual spot or zone mode is usually the right choice. Auto programs keep moving. That movement helps with general coverage, but it can be frustrating when you want the chair to spend more time in one small area.
Look for controls labeled spot, zone, partial, up/down, or position. A spot setting usually keeps the rollers near one point. A zone setting typically lets them travel within a short range, often several inches.
2. The body scan misses your shoulder position
Many chairs run a body scan at the start of a session to estimate shoulder height. If the scan places the rollers too high near the neck or too low below the shoulders, manual shoulder adjustment is the fix. Move the shoulder position one step at a time until the rollers contact the upper back rather than the bones of the neck.
This is especially common for people near the ends of a chair’s height range, such as users around 5 feet tall or 6 feet 3 inches tall. It can also happen if you sit forward, wear bulky clothing, or shift during the scan.
3. The pressure feels too strong in one zone
Manual controls let you reduce intensity without abandoning the whole session. If arm airbags squeeze too firmly, turn that zone down or off. If foot rollers feel too sharp, lower the speed, add thicker socks, or switch the foot rollers off while keeping calf compression on.
Small changes matter. Reclining another 5 to 10 degrees can increase how much body weight rests on the back rollers. Sitting more upright can reduce that feeling. A removable back pad, if your chair has one, can also change perceived pressure.
4. You want a lighter warm-up before stronger pressure
Some auto programs ramp up quickly. If you prefer a slower start, use manual settings for the first 2 or 3 minutes: low roller speed, wide roller width, light airbag pressure, and a comfortable recline. After that, you can switch to auto or keep building your own sequence.
This is not about toughness. It is about comfort and control.
5. Your body proportions do not match the default routine
Two people can be the same height and still fit a chair differently. Torso length, leg length, shoulder width, hip position, and foot size all affect where the rollers and airbags land. Manual settings help when a default routine is designed for an average user but your sitting position is not average.
For example, a tall user with a long torso may need to raise the shoulder point manually, while a shorter user may need to lower it and reduce calf or foot intensity. A user with broad shoulders may prefer a wider kneading width. Someone with narrow shoulders may prefer a tighter roller path.
6. You share the chair with 2 or more people
Auto programs can feel completely different from one user to another. In a household with 2, 3, or 4 regular users, manual adjustments help each person set their own comfort level without debating the “best” program. If the chair has memory settings, save each person’s preferred recline angle, shoulder position, intensity, and airbag level.
If it does not have memory, keep a simple note near the remote: shoulder +2, airbags level 1, foot rollers off. It sounds basic, but it works.
7. You only have 5 to 10 minutes
A 20-minute auto program may be more than you want when you only have a short break. Manual mode lets you choose a focused 5-minute upper-back session, a 7-minute foot-and-calf sequence, or a quick low-back zone pass without waiting for a full routine to reach that area.
Short sessions also help when you are testing a new chair. Try one adjustment at a time. Change too many settings at once and it becomes harder to know what improved the feel.
Who manual massage chair settings are best for: 5 user types
Manual controls are most useful for people who notice details. If you tend to say, “I like the chair, but I wish it would stay right here,” you are the exact user manual mode was built for.
- Detail-oriented users: You want to choose roller width, technique, speed, or pressure instead of accepting one preset rhythm.
- Users outside the middle of the height range: If you are near the short or tall end of a chair’s listed fit range, manual shoulder and leg adjustments can make a noticeable difference.
- People with sensitive areas: Manual settings let you turn off a zone, reduce airbag pressure, or avoid direct roller contact in a specific place.
- Shared-chair households: Different users can set different intensity levels, especially in the feet, calves, arms, and shoulders.
- Users comparing chair types: Manual controls help you understand whether you prefer a rolling, kneading, tapping, or Shiatsu-style feel before relying on presets.
Auto programs are still best for the person who wants to sit down, press one button, and not think about it. A good chair should offer both options. The mistake is treating manual mode as an advanced feature you never touch. In daily use, it is often the quickest way to make a chair fit better.
How to choose manual controls: a 3-minute measuring method
Before you fine-tune settings, take 3 minutes to check how your body lines up with the chair. You do not need special tools, but a tape measure and a second person can help. The goal is to match the chair’s moving parts to your actual sitting position, not just your standing height.
Step 1: Measure seated shoulder height
Sit in the chair the way you normally would, with your hips back and shoulders relaxed. Measure from the seat surface to the top of your shoulders. This number helps explain why two 5-foot-8 users may need different shoulder scan adjustments.
If the rollers start above your shoulders, lower the shoulder position. If they begin too far down the back, raise it. Make changes in small increments, then run the first 60 seconds of a program again.
Step 2: Check hip position and back contact
Your hips should be all the way back in the seat. Even a 2-inch forward slide can change how the rollers contact your back. If you perch forward, the scan may read you incorrectly, and the roller path may feel too shallow or too high.
Use the same posture every time you adjust. Consistency beats guesswork.
Step 3: Check leg-rest fit
Extend the leg rest and see whether your calves and feet sit naturally in the channels. If your heels are floating, your feet are jammed, or the calf airbags land too high or low, use manual leg extension controls if available. Some chairs rely on spring-loaded ottomans, while others use powered extensions.
Foot size matters too. A user with a men’s size 13 shoe may experience foot rollers differently than a user with a women’s size 6 foot, even in the same chair.
Step 4: Set intensity from low to high
Start at the lowest airbag level and a moderate recline. Add intensity one level at a time. If the chair has 3 or 5 airbag levels, do not jump straight to the highest setting just because the remote offers it.
Your best setting is the one that feels comfortable enough to use regularly. More pressure is not automatically better.
| If this happens | Try this manual adjustment | Test time |
|---|---|---|
| Rollers feel too high near the neck | Lower shoulder position by 1 step | 60 seconds |
| Rollers miss the upper back | Raise shoulder position by 1 step | 60 seconds |
| Foot rollers feel too sharp | Reduce speed, wear thicker socks, or turn foot rollers off | 2 minutes |
| Arm airbags feel too tight | Lower arm air pressure or disable arm zone | 1 cycle |
| Back pressure feels too strong | Sit more upright or add a pad if the chair allows it | 3 minutes |
| Back pressure feels too light | Recline slightly farther or remove extra padding if appropriate | 3 minutes |
A simple 10-minute manual routine to copy
If you are new to manual controls, start with a short routine instead of building a complex sequence. Ten minutes is long enough to learn what each control does and short enough to avoid over-adjusting.
Minutes 0–2: Get positioned
Sit fully back, run the body scan if the chair requires it, then correct shoulder height manually if needed. Set airbags to low. Choose a neutral recline angle that feels supported rather than forced.
Minutes 2–5: Upper-back zone
Choose a zone setting around the upper back or shoulder-blade area. Use a moderate roller speed and a width that does not press directly on bony areas. If the chair offers different roller styles, try kneading first because it is usually easier to evaluate than fast tapping.
Minutes 5–8: Mid- or low-back zone
Move the rollers down to the mid-back or low-back area. Keep the first pass gentle. If pressure feels too direct, sit more upright or reduce intensity. If it feels too light, recline a little farther and retest for 30 to 60 seconds.
Minutes 8–10: Airbags, feet, or cooldown
Turn on the zones you actually like. Some users prefer calves only. Others like arms and shoulders but not feet. If the foot rollers are intense, keep them on for 1 minute at low speed, then decide whether to continue.
Save your preferred settings if your chair has memory. If not, write down your routine in plain language: upper back 3 minutes, low airbags, foot rollers off, medium recline. That note is often more useful than trying to remember a remote-control icon.
Manual controls by chair design: 4 feature comparisons
The value of manual mode depends partly on the chair’s hardware. A chair with a longer track, more airbag zones, and adjustable intensity gives you more to fine-tune than a basic recliner with limited vibration and rolling functions.
| Feature | What it changes | Manual setting to look for | Why it matters |
|---|---|---|---|
| S-track | Roller path follows the back from neck area toward low back | Shoulder position, spot, zone, width | Good manual control helps match the upper-back start point |
| L-track or SL-track | Roller path continues under the seat area on many designs | Back zone, glute/seat zone, roller speed | Lets you choose whether pressure stays on the back or travels lower |
| 2D rollers | Rollers move up/down and side-to-side | Width, speed, technique | Useful if you mainly want position and rhythm control |
| 3D or 4D-style rollers | Roller depth may move in/out; rhythm may vary | Depth or intensity level | Helpful when you want lighter or deeper-feeling contact |
| Airbag zones | Compression in areas such as shoulders, arms, calves, feet, or hips | Zone on/off and 3–5 intensity levels | Lets sensitive users reduce one area without stopping the session |
| Powered leg rest | Leg length and foot position | Extend, retract, calf/foot intensity | Improves fit for users with shorter or longer legs |
When shopping or comparing chairs, do not just count auto programs. A chair with 20 presets but weak manual controls may be less adaptable than a chair with fewer presets and better zone, width, shoulder, and intensity adjustments.
When auto programs are still the better choice: 4 examples
Manual settings are useful, but they are not always the best way to use the chair. Preset programs exist for a reason: they coordinate rollers, airbags, recline, and timing without making you operate every feature separately.
- You are learning the chair: Run 3 or 4 auto programs first so you know the chair’s basic feel before customizing.
- You want balanced coverage: Auto programs usually move through several zones instead of staying in one place.
- You do not want to manage timing: A preset 15- or 20-minute program stops on its own and changes techniques automatically.
- You are feeling overstimulated by options: One button can be better than 12 adjustments when you simply want a comfortable session.
A smart pattern is to use auto first, then manual second. Let the preset show you what the chair can do. When you find something that feels close but not perfect, switch to manual and refine it.
Safety first: 8 situations where you should ask a physician
A massage chair is a consumer wellness product, not a medical device. It is designed to provide mechanical pressure, movement, warmth, recline, and compression sensations. It should not replace professional medical advice.
Ask your physician before using a massage chair, especially manual pressure or strong airbag settings, if you are pregnant or may be pregnant; have a pacemaker or other implanted cardiac device; have a history of blood clots or take anticoagulant medication; have osteoporosis; have had a recent fracture or surgery; have spinal disc problems; have neuropathy or reduced sensation; or have uncontrolled hypertension.
Stop using the chair if you feel sharp pain, unusual numbness, dizziness, shortness of breath, or any sensation that feels wrong for your body. Do not use manual mode to force pressure onto an area that feels irritated, injured, or unusually sensitive. Comfort should set the limit.
Keep sessions reasonable while you experiment. If you are new to the chair, try 5 to 10 minutes at low intensity before using longer programs. Check the owner’s manual for the chair’s weight limit, fit range, and instructions for safe operation.
FAQ: 5 quick answers about manual settings
Should I use manual settings every time?
No. Use manual settings when you want a specific result, such as targeting one area, reducing airbag pressure, or correcting shoulder position. If an auto program already feels comfortable, it is fine to use that most of the time.
How long should I keep rollers in one spot?
Start with 1 to 3 minutes in a spot or small zone, then reassess. If it still feels comfortable, you can continue briefly, but avoid forcing strong pressure in one place for a long period.
Why does the same auto program feel different on different days?
Your posture, clothing, seating position, recline angle, and body scan result can all change the feel. Even sliding forward by about 2 inches can affect where the rollers land.
Are stronger manual settings better?
Not necessarily. Stronger settings create more intense mechanical pressure, but the best setting is the one that feels comfortable and repeatable. Lower airbag levels and moderate roller speed are often easier to fine-tune.
What manual controls matter most?
Shoulder position, roller spot or zone control, roller width, airbag intensity, foot roller on/off, and recline angle usually make the biggest difference. Start with those before adjusting smaller preferences.
Frequently asked questions
When should I use manual massage chair settings instead of an auto program? +
Use manual settings when an auto program misses the area you want, feels too strong or too light, scans your shoulders incorrectly, or needs adjustment for your body size and preferred pressure.
Are auto programs or manual controls better? +
Neither is always better. Auto programs are best for simple full-chair sessions, while manual controls are better for targeted pressure, fit corrections, and zone-by-zone comfort adjustments.
How long should I use manual spot mode? +
Start with 1 to 3 minutes on one spot or small zone, then reassess comfort. Avoid forcing strong pressure in one area for an extended period.
Which manual settings should I adjust first? +
Start with shoulder position, roller zone or spot location, roller width, airbag intensity, foot roller on/off, and recline angle. These usually change the feel the most.
Should anyone avoid using strong manual massage chair settings? +
Ask your physician first if you are pregnant, have an implanted cardiac device, blood clot concerns, osteoporosis, recent surgery or fracture, spinal disc problems, neuropathy, uncontrolled hypertension, or other medical concerns.
Related guides
How to Adjust Massage Chair Intensity Without Overdoing It
13 min read
Massage Chair Auto Programs Explained: Relax, Stretch, Recovery, Sleep, and Deep Tissue Modes
14 min read
Best Massage Chair Settings for Beginners: Intensity, Roller Position, Air Pressure, Heat, and Recline
13 min read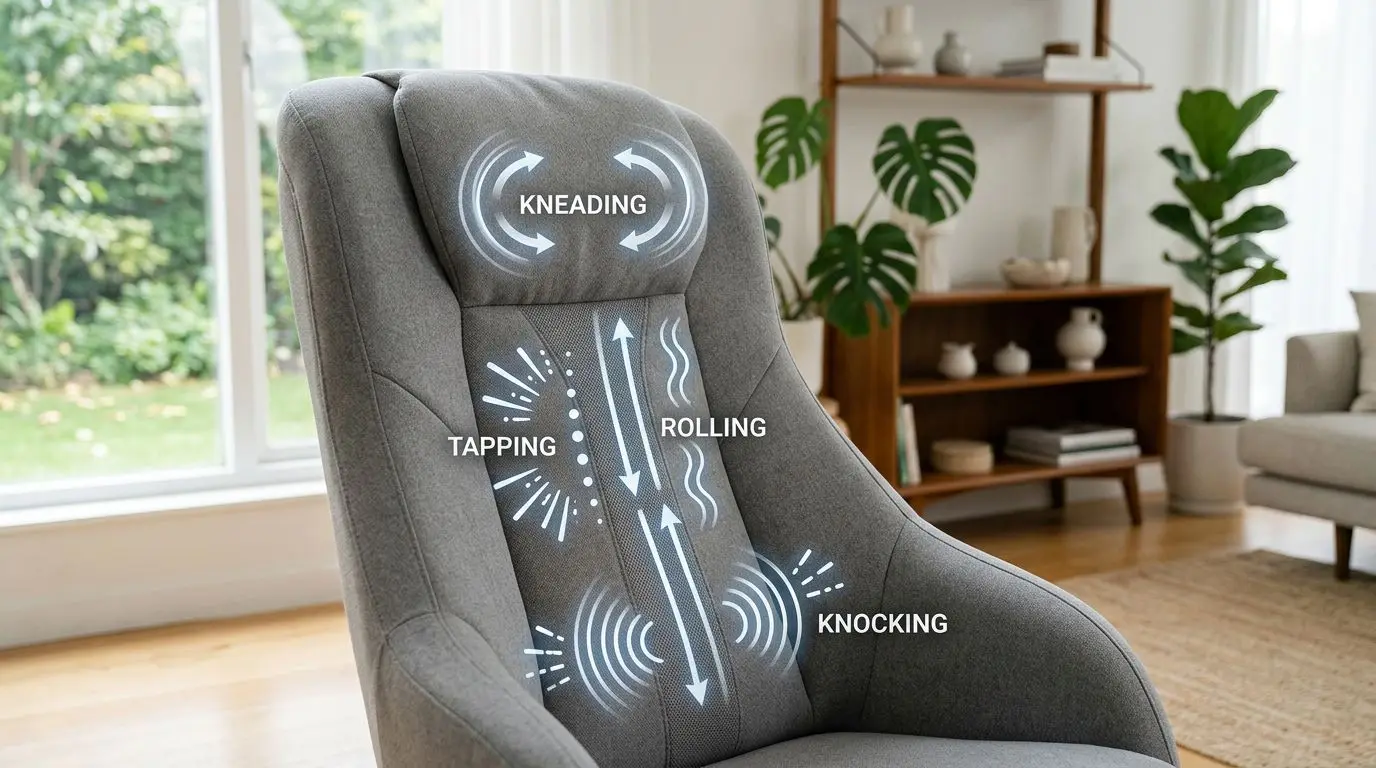
Massage Chair Roller Techniques Explained: Kneading, Tapping, Rolling, Knocking, and Combination Modes
12 min read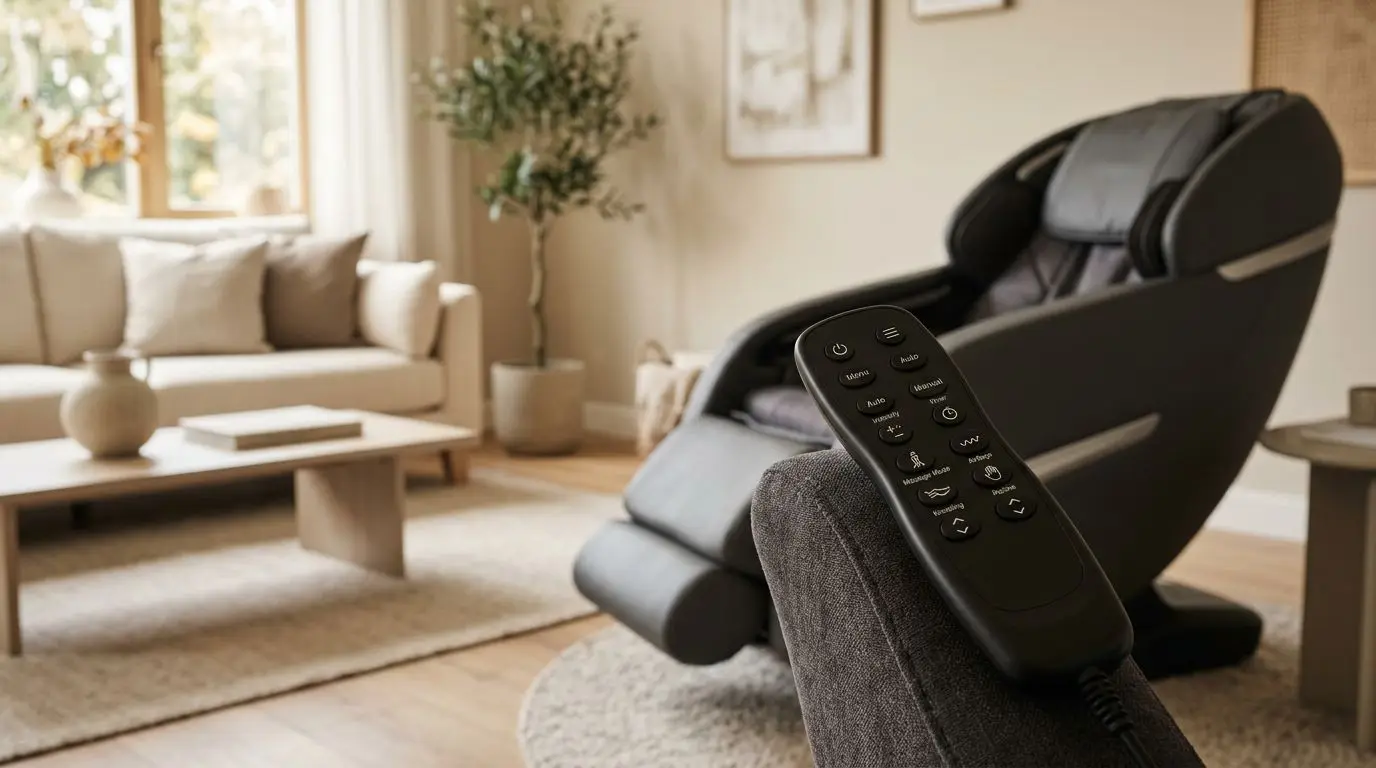
Massage Chair Programs Explained: Auto Modes, Manual Settings, Spot Massage, and Stretch Programs
12 min read